Science Fair Display Boards – Communicate Your Experiment and Results
You want everyone to know how hard you’ve worked on your project and what a good job you did. So, it’s important to communicate your experiment and results in a way that will immediately attract their attention.
The display is the first thing the judges see so you don’t want it to be disorganized and messy, or be cluttered with just text. Remember, you only have one chance to make a first impression!
The overall purpose of your display, or poster presentation, is to describe the science project work to the judges and to tell the story of your project.
style="display:inline-block;width:336px;height:280px"
data-ad-client="ca-pub-8943279417205299"
data-ad-slot="8441474428">
In general, you should plan for your display to include the following:
- State the purpose of participating in the Science Fair. What problem are you trying to solve, or what question are you trying to answer
- State your hypothesis, or if it’s an engineering project state the goal
- List the materials you used
- Explain the procedures you followed – your Experimental Plan or if it’s an engineering project your Design Analysis
- Provide you results, as brief summaries
- Include graphs, charts, diagrams, drawings and/or photographs. Don’t forget to label everything!
- Conclusions (were you right or wrong); use simple statements, preferably with bullets
- List references. If you have a lot, then list at least your major references
- List applications for your research and a few words about any plans you have to do further research on the topic
- One of the best things you can do is to include pictures of yourself in action working on your project or working with scientists. Make sure you include captions under each picture to explain what’s going on in the photo.

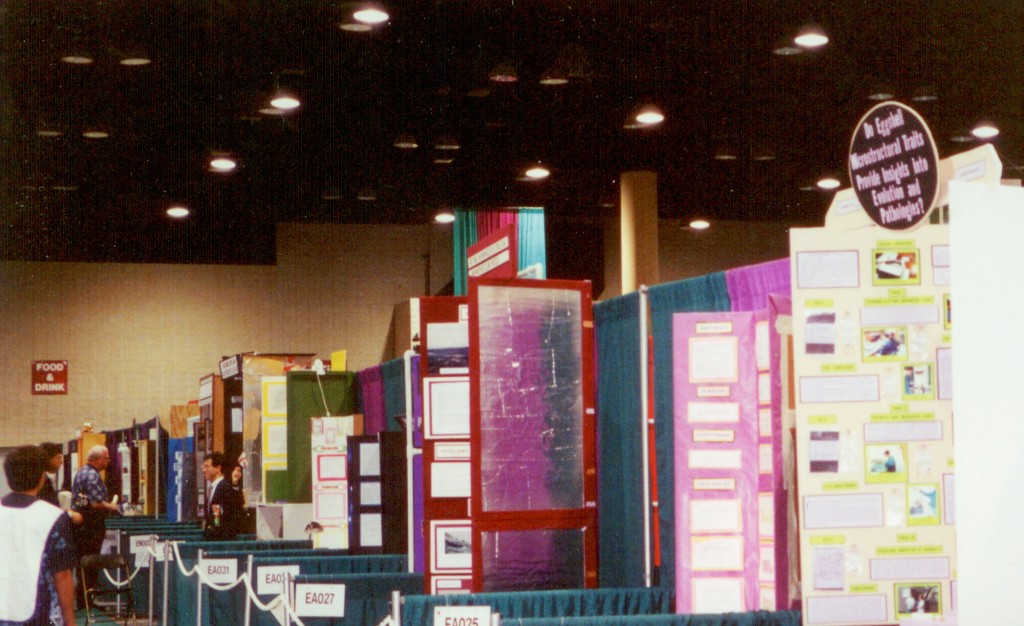
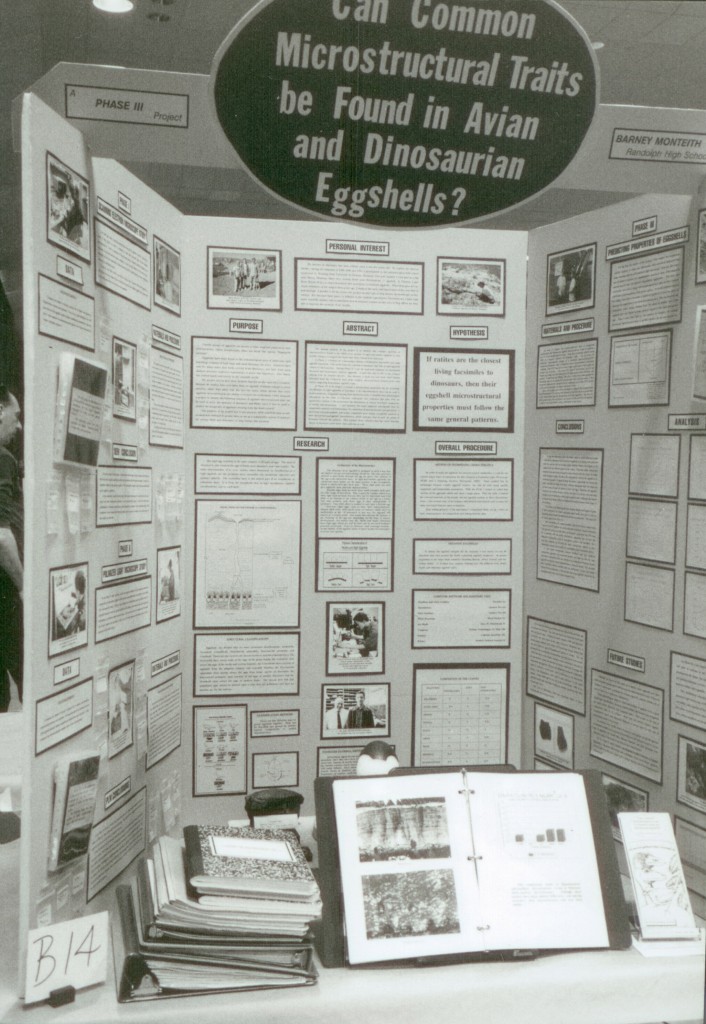
It can be daunting to see how big and detailed all the boards are at science fairs — especially at the International Science & Engineering Fair, pictured above. The best rule to follow when setting up boards is not to take the easy route and buy standardized cardboard boards — but rather, to maximize the board size allowed in the rules of the competition. You don’t necessarily need a fancy professionally printed PowerPoint display, but you definitely don’t want your boards to look tiny compared to everybody else’s! On the right hand side you can see the ISEF boards of Barnas Monteith, in 1992, with a project on dinosaur eggshells & evolution.
Follow the Rules
We can’t emphasize this enough. Be sure to read and understand all the display and safety rules!
Every project receives the same space allocation. The most important thing about your display is to make sure you follow any rules you’ve been given about the dimensions or material of the display. You should not extend your boards by even an inch. With some science fairs, there have been documented cases where the fair organizers have trimmed the sides or top of the display with a knife/saw to make it the size specified in the instructions, even when it cut off important information. So, before you get to the fair, set up the project at home and double check all the dimensions.
Some projects may need electricity; be sure to check the rules to see if you can bring a display that may need electricity such as a computer. But, just because a computer or something powered by electricity was used to model a process or compile your results does not mean it will be allowed at the fair. Don’t hesitate contacting the science fair organizers if you have any questions. You don’t want to be surprised when you get to the fair and are told you need to dismantle part of your display.
Students like to display items they used doing their experiments. For safety reasons, many items cannot be displayed at a science fair including living organisms, plant materials, chemicals, hazardous substances, sharp items, tanks with gases, flames and batteries. You will need to find a way to use photographs to show what you did. Check with the science fair organizers in advance to be certain what you can and cannot display as part of your project. Schools and science fair organizers have the right to remove items that may be dangerous to the public.
Display Board Material
Display board can usually be made of any material, but should be sturdy enough to stand alone on a table. Many students either use a three-panel blank science fair display board you can buy at office stores, or foam core (a type of Styrofoam) which can be purchased in any art supply store and hinged together with strong tape or Velcro. Making your display from wood makes it heavy and difficult to transport. Large displays don’t necessarily mean it’s a good project, so don’t feel like your display has to be the largest one in the room.
Basic Board Format
In most cases, your board will be broken into three segments. People typically read from left to right, so you should set up your board to tell the story of your project from left to right.
- Left Panel
- Abstract
- Purpose
- Hypothesis
- Materials
- Methods
- Center Panel
- Graphs, tables, charts, diagrams
- Drawings and/or photos. Make sure you put only your best looking drawings or photos that tell a story.
- Make sure everything is labeled correctly and is self-explanatory
- Right Panel
- Results
- Conclusion/discussion of your results and observations
- Suggest future experiments and ways the research might be used by others
- References; if there are many then select a variety of several of them to show how much background work you did
- On the Table in Front of the Board
- Your journal or notebook
- Your report
- If you used special equipment or a model and it fits the size requirements, the set-up can be placed in front of your display or in a place to enhance the exhibit – not overwhelm it.

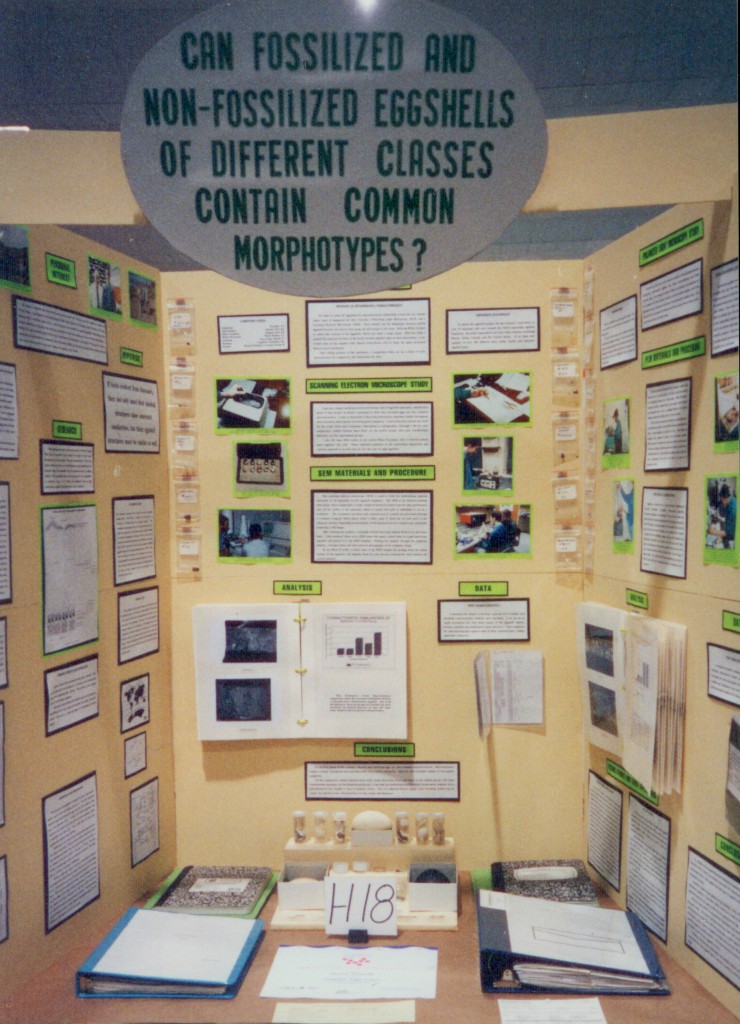
Note here some of the details on a regional/state level science fair display board. See that the multi-phase lab books and the report is open and available for judge viewing, some samples are on the table and the boards are full of graphics, pictures of the procedure, and analytics. (advanced, Junior/Senior high school year level project).
Make Your Display Stand Out
Your project will be surrounded by many others, so it’s important that it look good, stand out, be eye-catching and most important — tell the story of your project, completely. Here are some Science Fair Displays and advice about Display Boards:
- http://school.discoveryeducation.com/sciencefaircentral/Science-Fair-Presentations/How-to-Create-a-Winning-Science-Fair-Display-Board.html
- http://sciencefair.math.iit.edu/display/layoutflow/
- http://www.sciencebuddies.org/blog/2015/03/putting-together-a-project-display-board.php
- https://www.youtube.com/watch?v=ax_1LAIAhYk
- http://www.lascifair.org/wp-content/uploads/2012/02/Science-Fair-Displays.pdf
Other Tips:
- Pick a color scheme and stick to it: Don’t use too many colors, 2-3 at the most or it will become distracting. It’s safest to use black or equally dark lettering. It’s not an art project, but it should still use artistic techniques, mat papers.
- Your project title should be large enough for a judge to read from about four feet away (14 point is a recommended minimum). If you’re using a standard size tri-fold board from the office supply or art store, your project title should be about two inches high. Make sure the title and text are easy to read. Avoid writing in all capital letters, or using a font with a shadow; these can sometimes be difficult to read easily.
- If you mount the titles of each section and graphics/photos onto a different color paper, it will create a border to make them more eye-catching.
- Make sure your display board is neat and looks organized, and be sure to check your spelling and make sure you line papers up straight using rulers. Some judges may question how careful you were with doing your experiment if your display board is unorganized or if there are sloppy spelling mistakes.
- There are some science fairs that have preliminary judging where projects are reviewed without the students present. When this happens, the display is very important.
- Can the display get your point across without you being there to provide an explanation? Ask a friend or relative if they can figure out what you did with the project.
- Here’s another reminder to read the science fair rules and regulations carefully about what you can and can not bring as part of your display (especially make sure you do not bring any chemicals or hazardous materials). Contact the fair organizers if you have any questions at all about this; they’re there to help you.
- Most fairs do not allow you to show your name, the school name and/or pictures that identify you by name on the board. However, you can include this information in your notebook and on your report.


